Card tier list · Updated July 2026 · Patch 2.2.1
Monster Train 2 Card Tier List
The best draft priorities for every current clan: one S, A and B pick from each of the game’s 12 card pools. Rankings explain the job each card solves; costs, stats and rules text come directly from the current game data.
Quick answer
Which cards are safest to draft early?
Awoken’s Rail Spike fixes draw and Ember, Steel Pulley Claw repeatedly fixes floor order, Scrap for Parts creates a carry turn, Hallowed Halls rebuilds a death floor, and Lodestone Totem converts cheap spells into boss control. These are broad recommendations, not automatic picks: use the “best with” line before adding another card to a focused deck.
Draft-priority shortlist
36 best Monster Train 2 cards ranked
Each tier contains exactly one card from every clan. Grades are relative to the clan’s own pool: they measure how safely a player can draft the card before every synergy is known. Cards not shown are not “F tier”; they simply did not make this focused shortlist.
High-priority drafts
The lowest-regret card in each clan: a premium engine, carry or answer that is worth considering before a full build is assembled.
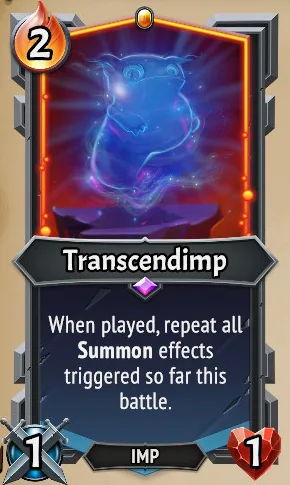
When played, repeat all Summon effects triggered so far this battle.
Repeating the battle’s Summon history turns ordinary Imp value into a late-fight combo engine with an exceptional ceiling.
Best with: Imp generators, Endless and powerful Summon effects
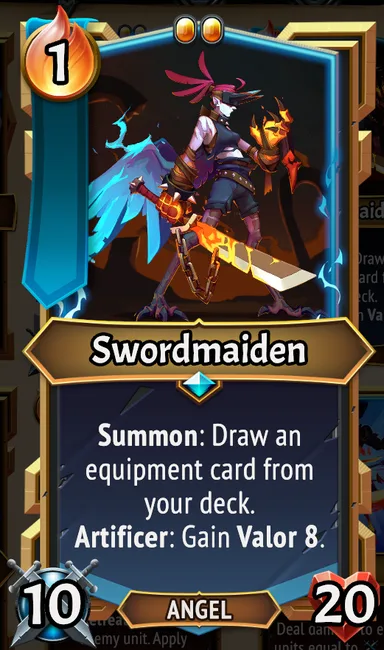
Summon: Draw an equipment card from your deck. Artificer: Gain Valor 8.
Finds equipment immediately and converts the clan’s normal Artificer plan into both offense and frontline durability.
Best with: Equipment-heavy Banished decks and repeated Artificer triggers
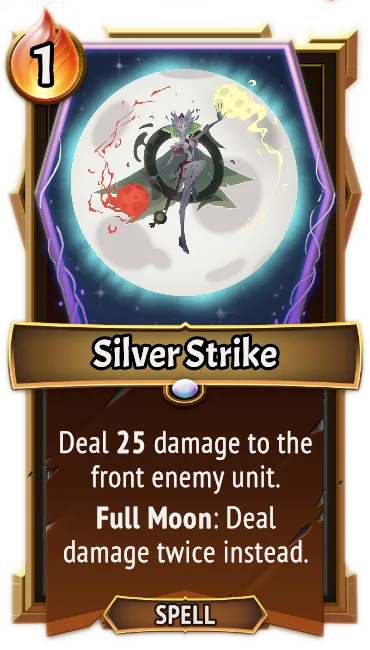
Deal 25 damage to the front enemy unit.
Cheap front-unit damage stays useful from the opening fights through late Mooncycle turns and accepts premium spell upgrades well.
Best with: Full Moon control, Magic Power and repeat-cast upgrades
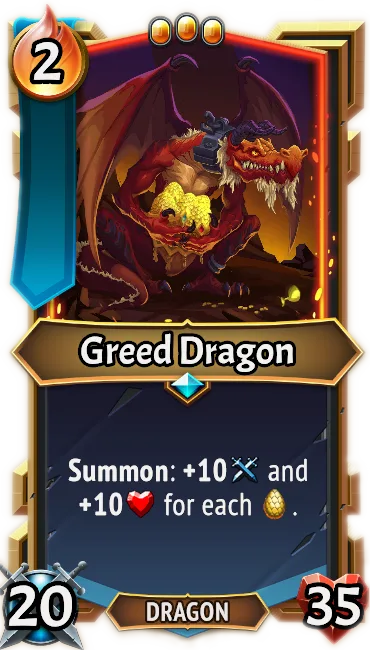
Summon: +10 Attack and +10 Health for each Dragon's Hoard.
Converts the resource Pyreborne already wants to hoard into immediate permanent-looking combat stats on one reliable body.
Best with: Dragon’s Hoard generation, extra Capacity and duplication
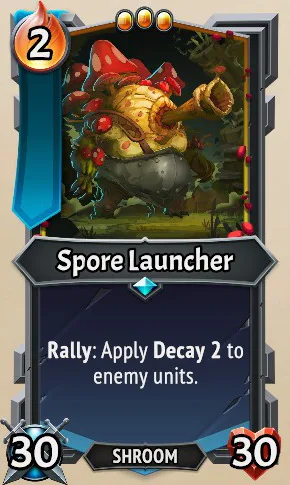
Rally: Apply Decay 2 to enemy units.
Every card played on its floor advances the same scaling damage plan, so setup cards and payoffs stop competing for deck space.
Best with: Dense hands, Rally support and long Relentless fights
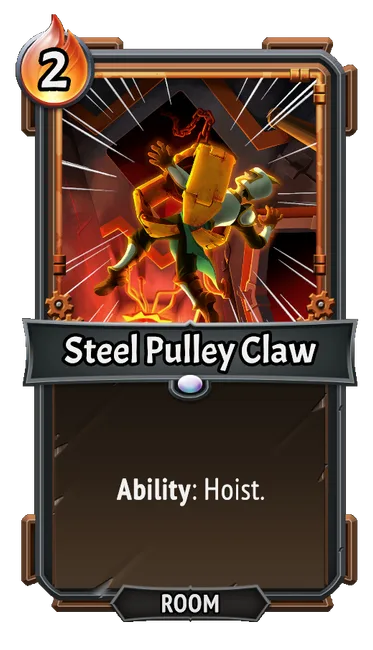
Hoist (Cooldown 1): Move a non-boss unit to this floor.
Repeatable movement solves backliners, bad floor assignments and friendly-unit positioning without consuming another card draw.
Best with: Pyrespeak floors, movement payoffs and isolated priority enemies
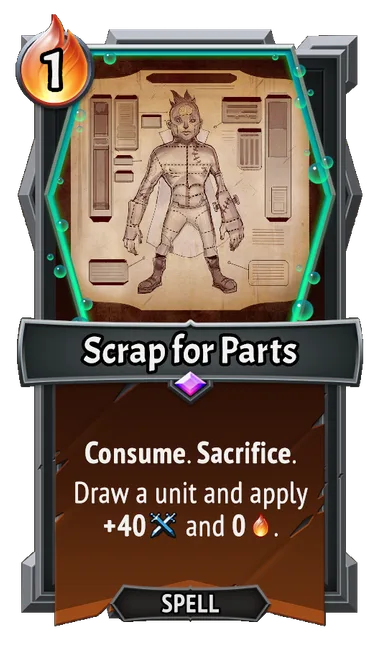
Consume. Draw a unit and apply +40 Attack and 0 Ember.
Finds a unit, removes its Ember burden and supplies enough offense to turn the next deployment into a real win condition.
Best with: A small banner-unit pool, Reanimate and a designated carry
Hunger: Feed on units with Eaten. Gorge: +4 Attack and +4 Health.
Feeds without waiting for normal combat timing and turns every Snack on the floor into immediate scaling before enemies can answer.
Best with: Reliable Snack generation, Capacity and defensive upgrades
Inspire: +3 Attack and Armor 3.
The same Inspire trigger grows offense and defense, making nearly every infused card useful instead of asking the deck to split plans.
Best with: Cheap Infused cards, Echo generation and Multistrike
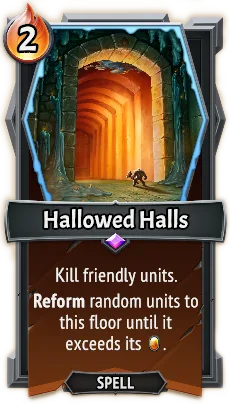
Kill friendly units. Reform random units to this floor until it exceeds its Capacity.
Turns a full floor of deaths into a fresh deployment and retriggers the clan’s strongest Reform, Burnout and summon interactions.
Best with: Reform pools, Extinguish value and floors built to die profitably
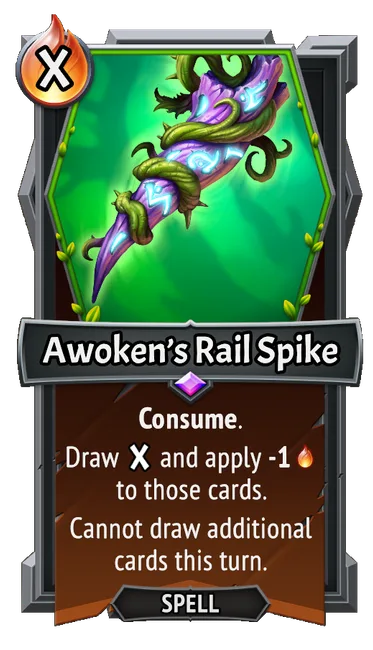
Consume. Draw X and apply -1 Ember to those cards. Cannot draw additional cards this turn.
Compresses draw and Ember reduction into one scalable turn, letting Awoken reach its upgraded answers before a wave leaks.
Best with: High-impact spells, large Ember turns and decks with deliberate hand space
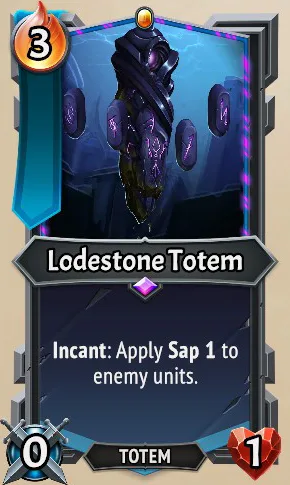
Incant: Apply Sap 1 to enemy units.
Every spell weakens the whole enemy floor, converting normal Incant volume into protection that remains relevant against bosses.
Best with: Cheap spells, draw engines and a floor that can survive setup
Strong with normal support
Powerful cards that need the clan’s ordinary mechanic, one good upgrade or a sensible carrier before they become premium.
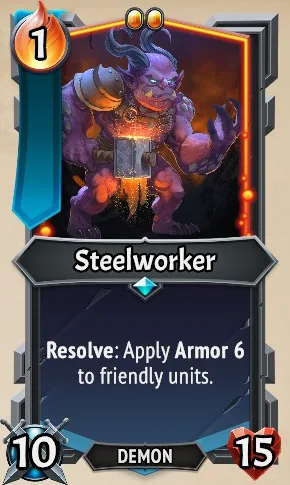
Resolve: Apply Armor 6 to friendly units.
Adds repeatable floor-wide protection while occupying a normal banner slot, stabilizing Rage units that otherwise trade health for speed.
Best with: Wide floors, Armor payoffs and Multistrike carries
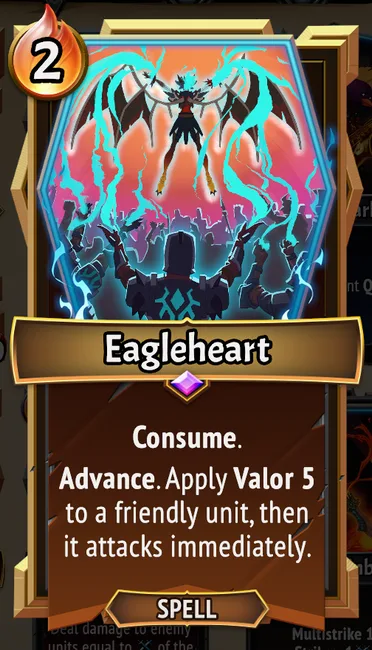
Consume. Advance. Apply Valor 5 to a friendly unit, then it attacks immediately.
Combines movement, Valor and an immediate attack, often converting one protected carry into a decisive answer before combat begins.
Best with: Shift triggers, high-attack carries and duplication
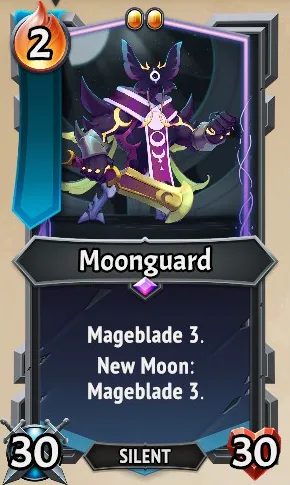
Mageblade 3 Moonshade: Mageblade 3.
Turns the Magic Power Luna already builds into direct unit scaling and receives a second push when the Mooncycle reaches its payoff.
Best with: Conduit floors, Full Moon timing and defensive equipment
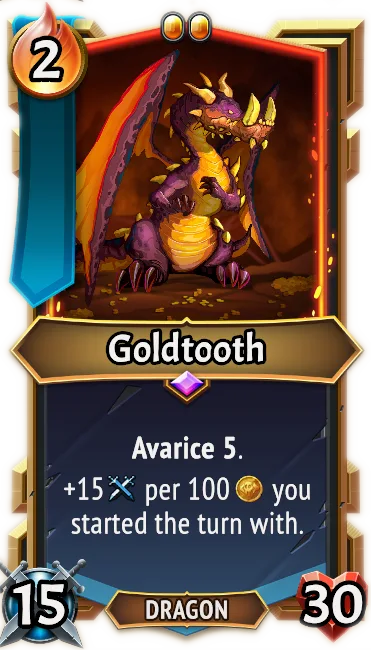
Avarice 5 +15 Attack per 100 Gold you started the turn with.
Rewards both keeping and earning Gold, giving merchant routing and combat scaling a shared resource instead of competing priorities.
Best with: Avarice, Gold generation and safe backline placement
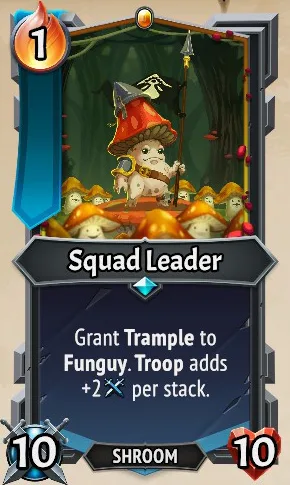
Grant Trample to Fun Guy. Troop adds +X Attack per stack.
Makes every Fun Guy body more threatening and supplies the keyword that lets a crowded floor turn excess damage into real progress.
Best with: Spawn, Propagate and floors packed with Fun Guys
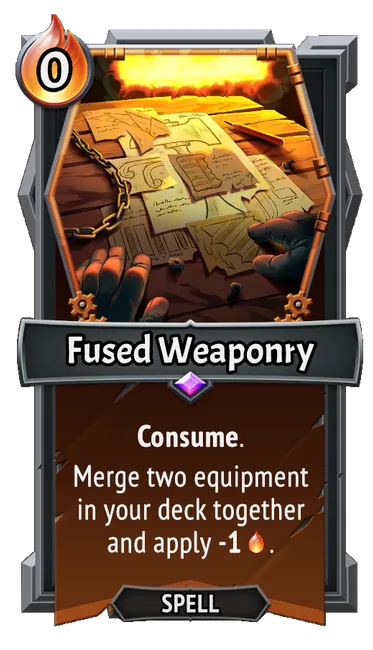
Consume. Merge two equipment in your deck together and apply -1 Ember.
Consolidates two investments into one cheaper equipment card, raising the ceiling of both Craft and repeated equipment play.
Best with: Premium equipment, Craft triggers and deck duplication
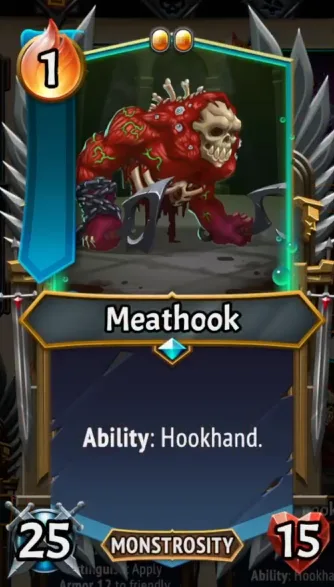
Ability (Cooldown 2): Hookhand — Advance. Apply Dazed 1.
A reusable action can move and disable the exact enemy threatening the floor, including turns where raw damage is not enough.
Best with: Cooldown reduction, Burst support and fragile backline carries
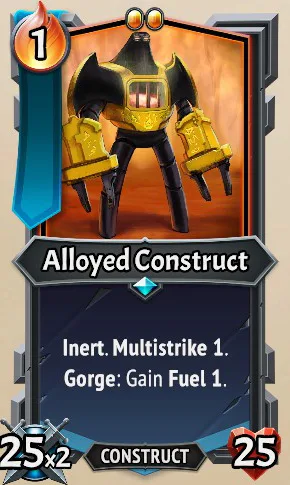
Inert 1, Multistrike 1, Fuel 2 Gorge: Gain Fuel 1.
Starts with the attack pattern Umbra wants and converts normal Gorge support into enough Fuel to keep that pattern active.
Best with: Reliable Snacks, attack upgrades and Fuel management
Hatch 5 Hatch: Summon 2 Bog Fly units.
Occupies little setup space and converts Echo progress into multiple bodies, giving unit upgrades and Inspire support more targets.
Best with: Echo generation, Hatch acceleration and wide floors
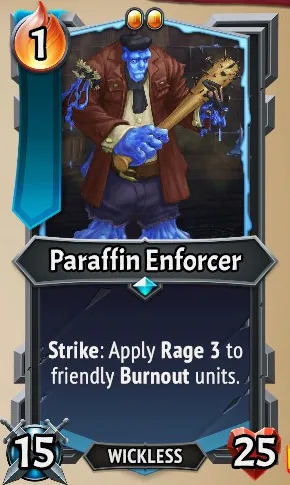
Strike: Apply Rage 3 to friendly Burnout units.
Every successful attack improves the entire Burnout floor, so one upgraded attacker can scale the disposable units around it.
Best with: Burnout extension, Multistrike and a full Reform floor
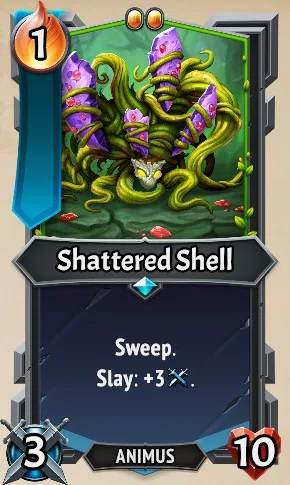
Sweep Slay: +3 Attack.
Solves backline enemies immediately and grows from the kills it was already drafted to take, reducing the need for a separate scaler.
Best with: Quick, attack upgrades and reliable Slay setup
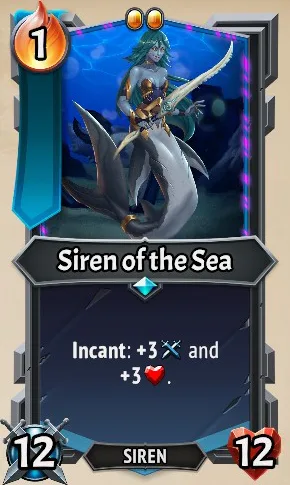
Incant: +3 Attack and +3 Health.
Converts routine spell volume into balanced permanent combat stats and asks for no separate Frostbite or discard package.
Best with: Cheap spells, Multistrike and Armor or Dazed support
Build-around priorities
Excellent in the matching shell, but not an automatic draft when the run cannot yet support their cost, timing or mechanic.
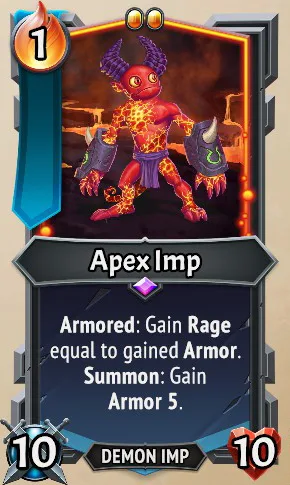
Armored: Gain Rage equal to gained Armor. Summon: Gain Armor 5.
Can turn defensive stacking into explosive offense, but the deck must repeatedly apply Armor rather than merely protect once.
Best with: Steelworker, Armor spells and Multistrike
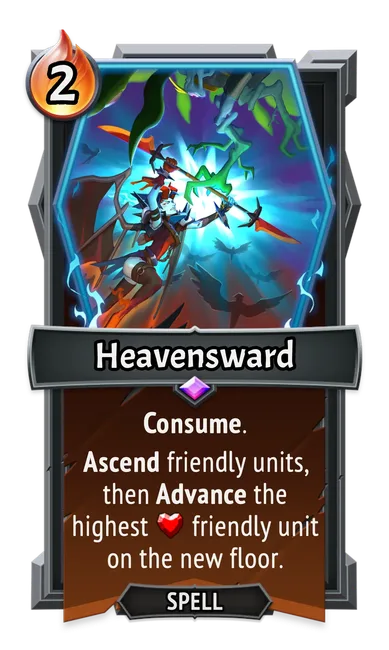
Consume. Ascend friendly units, then Advance the highest Health friendly unit on the new floor.
Rebuilds floor order and triggers movement value in one action, though careless use can overfill the destination or expose a carry.
Best with: Shift payoffs, spare Capacity and multi-floor setups
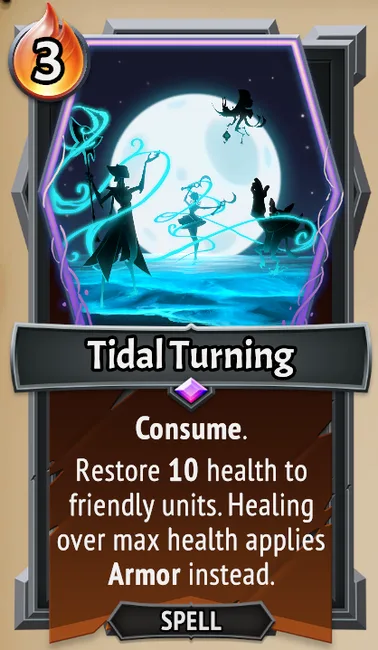
Consume. Restore 10 health to friendly units. Healing over max health applies Armor instead.
Can repair an entire floor and preserve excess healing as defense, but needs Ember help and a board worth saving.
Best with: Conduit discounts, damaged wide floors and Holdover alternatives
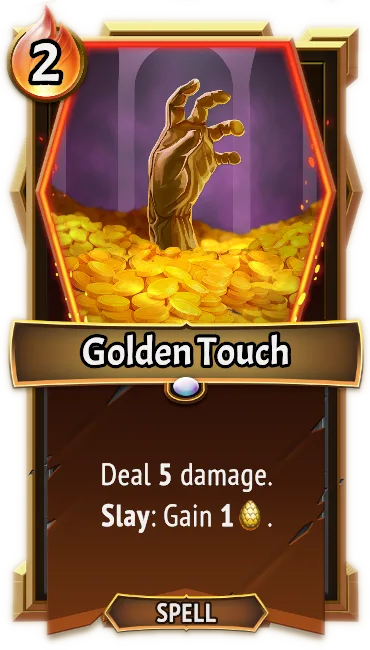
Deal 5 damage. Slay: Gain 1 Dragon's Hoard.
Builds the clan’s central resource from a small Slay, but requires a damage upgrade or careful target access to remain reliable.
Best with: Magic Power, weak backliners and Greed Dragon
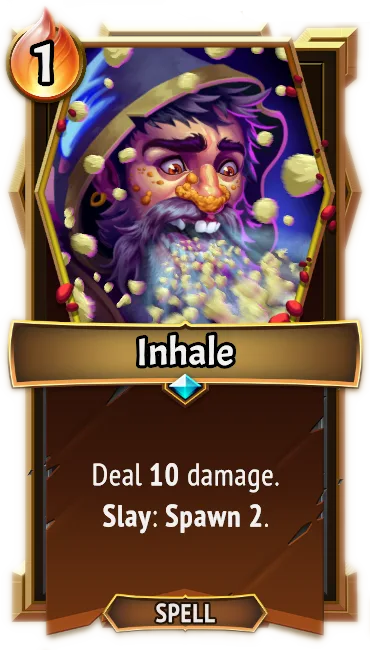
Deal 10 damage. Slay: Spawn 2.
Combines removal with immediate bodies, yet the spell needs a clean Slay and enough floor space to realize its full value.
Best with: Magic Power, Fun Guy payoffs and open Capacity
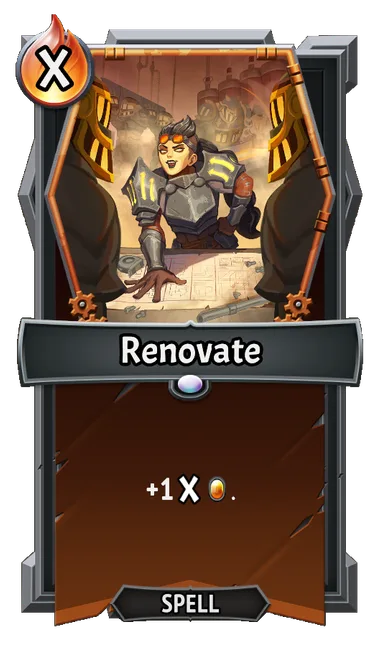
+1X Capacity.
Creates the floor space Railforged engines crave, but its value depends on Ember investment and a plan that actually fills the room.
Best with: Large machines, Pyrespeak and Ember generation
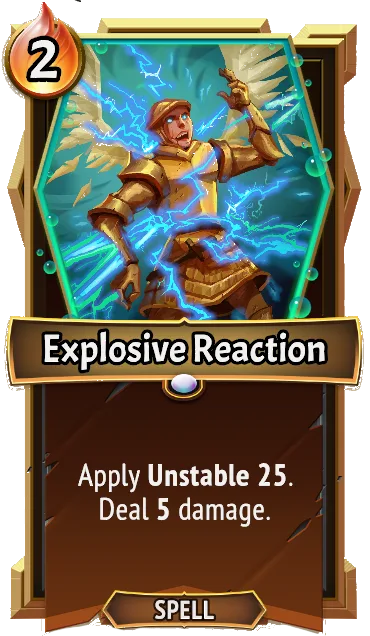
Apply Unstable 25. Deal 5 damage.
Front-loads the clan’s key debuff efficiently, but becomes a premium pick only when the deck can trigger or multiply that Unstable.
Best with: Orechi, Mix effects and repeat casting
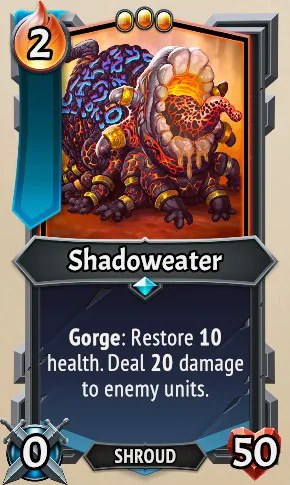
Gorge: Restore 10 health. Deal 20 damage to enemy units.
Turns each feeding action into recovery and floor damage, balanced by a large Capacity demand and the need for constant Snacks.
Best with: Packed Morsels, Capacity upgrades and defensive scaling
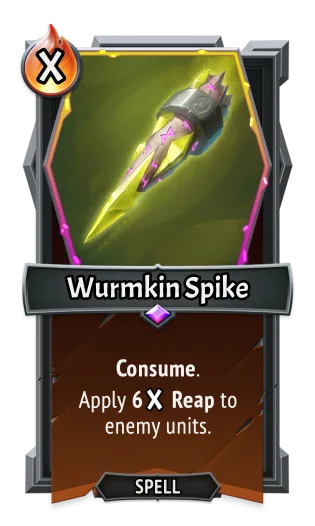
Consume. Apply 6X Corrupt to enemy units.
Converts a large Ember turn into concentrated Corrupt, but needs enough economy and a target that survives long enough to matter.
Best with: Ember generation, Corrupt payoffs and boss turns
Burnout 1, Stealth 1 Extinguish: +10 Attack permanently.
Repeated deaths can create an enormous attacker across battles, while a run without reliable Reform leaves it fragile and slow.
Best with: Endless, Reform, duplication and Burnout extension
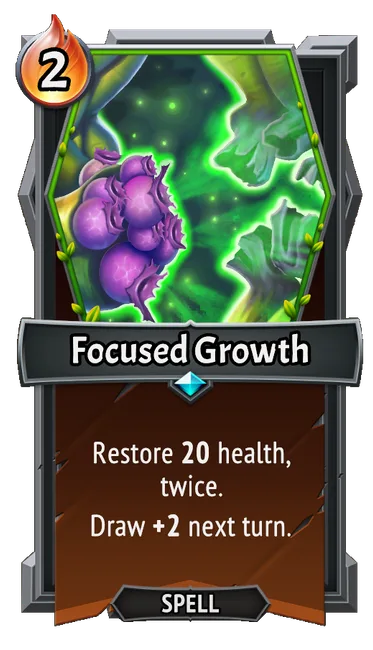
Restore 20 health, twice. Draw +2 next turn.
Repairs a frontline and improves the next hand, but costs enough that the deck should already value healing or have Ember support.
Best with: Regen tanks, healing triggers and expensive next turns
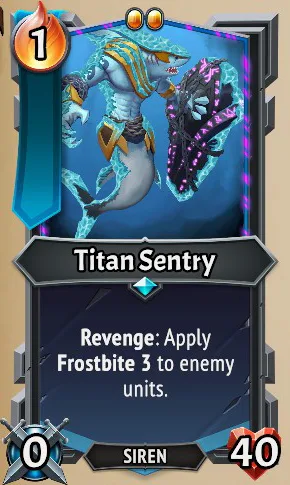
Revenge: Apply Frostbite 3 to enemy units.
Punishes every hit across the enemy floor and buys time, but wants protection, healing or repeated enemy attacks to scale properly.
Best with: Health upgrades, Dazed and long combat rounds
Fast clan lookup
Best cards for every clan
Open a card to see its full data page, or open the clan name for the complete card pool.
Awoken
- S Awoken’s Rail Spike Draw and economy
- A Shattered Shell Scaling sweeper
- B Focused Growth Recovery and draw
Banished
- S Swordmaiden Equipment carry
- A Eagleheart Burst turn
- B Heavensward Floor consolidation
Hellhorned
- S Transcendimp Summon engine
- A Steelworker Team defense
- B Apex Imp Armor-to-Rage carry
Lazarus League
- S Scrap for Parts Carry accelerator
- A Meathook Priority control
- B Explosive Reaction Unstable setup
Luna Coven
- S Silver Strike Efficient removal
- A Moonguard Magic carry
- B Tidal Turning Team recovery
Melting Remnant
- S Hallowed Halls Floor reset
- A Paraffin Enforcer Burnout scaling
- B Bounty Stalker Permanent carry
Pyreborne
- S Greed Dragon Run carry
- A Goldtooth Economy carry
- B Golden Touch Hoard setup
Railforged
- S Steel Pulley Claw Floor control
- A Fused Weaponry Equipment engine
- B Renovate Capacity scaling
Stygian Guard
- S Lodestone Totem Enemy control
- A Siren of the Sea Incant carry
- B Titan Sentry Frostbite tank
Umbra
- S Morsel-Made Gorge carry
- A Alloyed Construct Multistrike carry
- B Shadoweater Gorge wave clear
Underlegion
- S Spore Launcher Wave control
- A Squad Leader Swarm payoff
- B Inhale Swarm setup
Wurmkin
- S Shardsoul Carver Scaling carry
- A Bog Chrysalis Efficient hatch
- B Wurmkin Spike Corrupt finisher
Monster Train 2 card tier list questions
What are the best cards in Monster Train 2?
The safest high-priority picks are cards that solve a real run problem before every synergy is assembled. Awoken’s Rail Spike supplies draw and economy, Steel Pulley Claw controls floors, Scrap for Parts accelerates a carry, Hallowed Halls resets a death floor and Lodestone Totem turns spell volume into protection.
Why does this tier list rank 36 cards instead of all 564?
Monster Train cards are draft choices, not isolated characters. A full linear ranking would pretend that a Gorge payoff, an Incant unit and a movement spell compete in the same deck. This guide instead gives every clan one S, A and B recommendation, while the complete database remains available for exact lookup.
Are S-tier cards equally strong across every clan?
No. Each letter is relative to that clan’s own draft pool. S means the card is the lowest-regret recommendation for that clan; it does not mean an S-tier Wurmkin card belongs in an unrelated Stygian deck.
Should I always take an S-tier card?
No. Skip even a strong card when it duplicates a solved job, bloats a finished deck or lacks the carrier, Capacity, Ember or upgrade route named in its “best with” note.
How this card tier list is made
The rankings are an editorial synthesis of published best-unit and best-spell lists, Covenant 10 and Titans completion reports, current strategy writing and developer balance commentary. We favor cards that solve an unsolved job, remain useful before a perfect combo appears and accept common merchant upgrades. Build-arounds move down when their floor is low, not because their best-case ceiling is weak.
Names, clans, types, costs, stats and effects come from the same patch 2.2.1 game data as the complete card database. Editorial notes stay number-free so a future data refresh cannot leave two conflicting values on the page. We refresh the shortlist after material balance or content changes.
- Destructoid — best unit cards by clan
- Destructoid — best spells by clan
- r/MonsterTrain — all-unit tier list and discussion
- r/MonsterTrain — C10 Titans 180/180 unit and champion rankings
- r/MonsterTrain — strategy notes after 100 consecutive wins
- Steam Community — current beginner and draft strategy guide
- PC Gamer — Lost Arsenal cards with developer commentary
- PC Gamer — Railforged cards and Soul Savior impressions
- Official Monster Train 2 announcements — current balance notes